Setting Team Access via a Lookup

If you are not familiar with lookup fields you can read more about it here, but essentially it allows an app to pull information from a different app. For this context we will use this lookup app to store the information of the teams and use workflows to set access rights. This method can be kept up to date by non app builders as they just need to add a new team by creating the records in the look up app.
Configuration
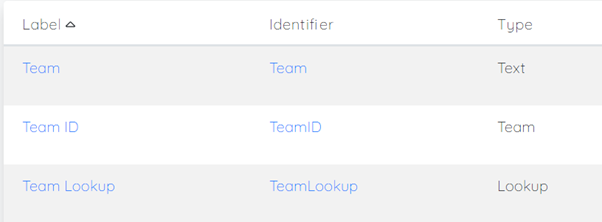
To start we would need to create a new app with two Text fields for the team’s name and the Team ID.

Finding Team Information
Fill in the fields with the team’s information and create as many records needed for all the Teams you would like to use. You can find the information about the teams on the grid icon near the top left of the screen which will take you to a pop-up menu which by pressing onto the gear icon should make the Team Settings app visible. From then on it should take you to a selection of teams where you can find their team's name and team ID.


Now on the original app, we will need to create three fields one for the lookup fields and two to send the information from the lookup app into for the app to use. From the image below a Team field is used instead of a text field this time around and this so we can utilise it for the workflow.
To configure the lookup field, you first would create a lookup field and then select the Lookup app in the Lookup App section.
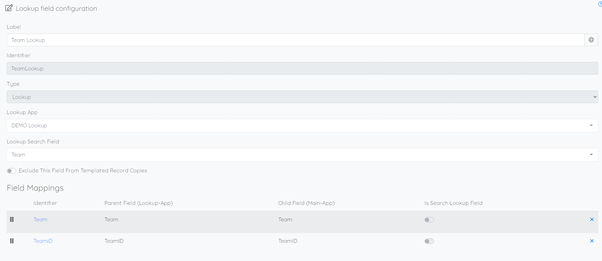
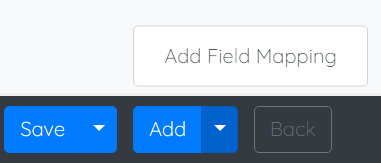
Then by pressing onto the down arrow on the Add button it should allow you to press onto Add Field Mapping.
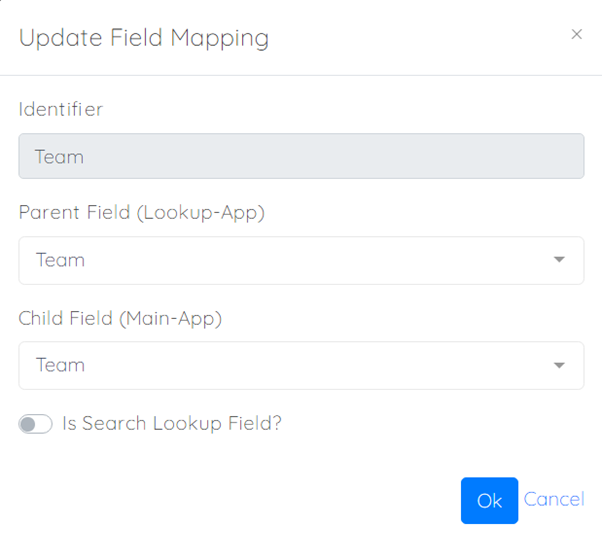
It will then show a popup menu where you create an ID and select the fields from the lookup app you want to bring information from and the field in the original app you want to send the information to. Do this for both the team name and the team ID and add the fields to your template, you do not have to include both the Team and the Team ID as they will be identical.
It should now show up onto your template and by pressing onto the magnifying glass it would show you the list of teams you have created.


Adding Workflows
Now comes the part where we add the workflows in which you go onto the Workflow V2 menu and click on Add which should take you to a page like the image below and give it a description to indicate what it’s purpose. If you are not familiar with Workflow V2 or would like to learn more about it you can find it here.

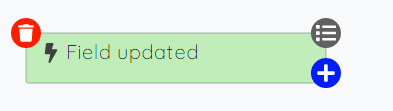
To create this workflow, we need three nodes of every node type being trigger, filter and action. Let’s create the trigger node in which we drag the Field Updated or Record Created node, as we would also need to create an additional workflow for the other, into the workspace. For this node we no further information is needed unless you would like to make some notes about it for future reference.

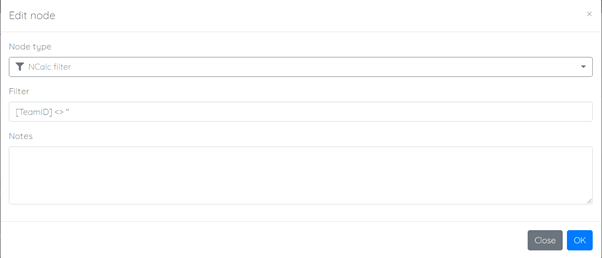
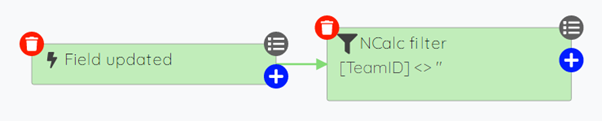
Then by clicking onto the blue ‘+’ button at the bottom right let's link this node to a filter node where we can add some requirements for the workflow such as when the Team ID is not empty.
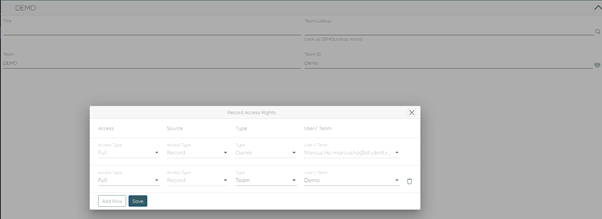
Finally let’s create the final node being the action node where we set Update record as the action type. Then for the action drop down list select the access rights you would like to give to the team on the image below I have selected full access rights. Once that’s completed add the Team ID to the Target Team Fields then click on Ok and save. The Workflow is now complete and now we need to do the same for the other trigger node which you can simply duplicate the workflow by clicking onto the down button on the save button and switch out the trigger nodes.


There should now be two workflows which are triggered by a field update and a record creation.

Now you can test to see if the workflow is working by resyncing the app and adding a new lookup which should change the access rights to the team specified in the lookup field.
Please sign in to leave a comment.
Comments
0 comments