
The Barcode field allows the User to scan a barcode through your camera and store the data, therefore it can also be split out and converted. Supported formats are: code_128_reader / ean_reader / ean_8_reader / code_39_reader / code_39_vin_reader / codebar_reader / upc_reader / upc_e_reader / i2of5_reader / 2of5_reader / code_93_reader
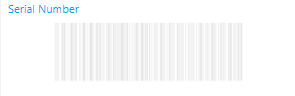
Example
Configuring a new Barcode Field
To create a new Barcode Field, you must first be in the 'Fields' section of AppStudio, here you will be able to click the 'Add Field' button in at least one of the highlighted locations below.

This will open the following page where you can scroll down and select the the Barcode Field tile or search for it in the top right bar:

Once selected you will be presented with the configuration options below:
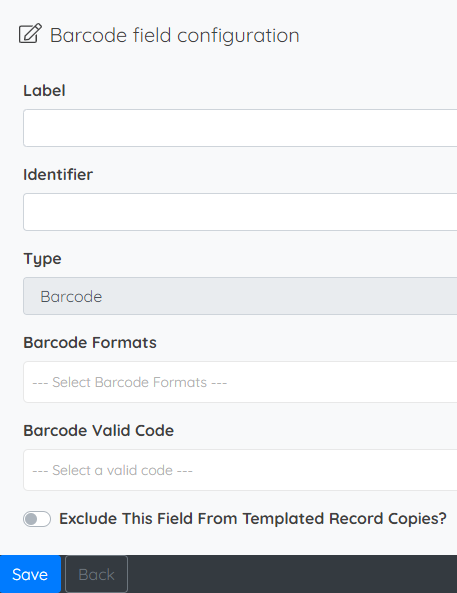
- Label: Visible in the App above the entry box it makes clear to the user what data is being displayed in the Field.
- Identifier: This should reflect the label. The identifier is a system ID for referencing a Field. This ID must be unique per Field and must contain only letters and numbers starting with a letter. It must also be a minimum of three characters.
- Type: The sort of Field that is being configured - With some types this can be edited in the future providing the data type is cross-compatible.
- Barcode Formats: Select the type of barcode intended to be scanned from the supported list.
- Barcode Valid Code - Choose from:
- Any
- Alpha
- Alphanumeric
- Numeric
- Regex
- Exclude This Field From Templated Record Copies?: If toggled, the data in this Field will be excluded from future copies of Records, whenever 'Template Copy' is selected for the copy.
Make sure to click the 'Save' button when making any changes in order for them to be added to the next app version. Once you have made all the changes you need to an application you are then ready to publish it to workspace.

Here is a useful community post that is worth looking at here
Comments
0 comments
Please sign in to leave a comment.